
FreeRTOS is a straightforward, user-friendly, reliable operating system that has been optimized for the Arduino IDE.
Materials Needed in this Project
Hardware components includes :
- Arduino Uno
- Arduino Yun
- Arduino Leonardo
- Arduino Micro
- Arduino Mega 2560
- Seeed Studio Seeeduino Lite
- Seeed Studio Seeeduino Ethernet
- SparkFun Pro Micro – 5V/16MHz
- SparkFun RedStick’
- FreeRTOS
- SparkFun MicroView – OLED Arduino Module
Software App and online Service
- Arduino IDE
Short Story of Arduino IDE
The Arduino IDE and environment have a large number of drivers and customs available close at hand, but the Arduino operating environment is restricted to only setup() and loop() and does not adapt well to multiple tasks.
This is a simple, easy to use, and robust Library implementation that integrates with Arduino IDE and allows seamless access to the parts of both environments.
Background
The majority of operating systems enable threads or programs to execute at the same time, and this is referred to as multitasking. In some cases, the processor core can only be running a single function at any given time, though. The operating system’s scheduler is responsible for deciding whether to run one program or multiple programs at a given time. It produces the illusion as if each program is simultaneously running, thereby achieving the simultaneous execution of multiple programs.
A scheduler in an RTOS is designed to provide a predictable (normally described as deterministic) execution of tasks. This is especially interesting for embedded systems, such as the Arduino devices, as embedded systems often require real-time execution. A scheduler in an RTOS is designed to provide a predictable (normally described as deterministic) execution of tasks. This is especially interesting for embedded systems, such as the Arduino devices, as embedded systems often require real-time execution.
Let’s get Started
In the Arduino IDE Library manager, from Version 1.6.8, look for FreeRTOS Library under the Type: Contributed and the Topic: Timing.

Ensure the most recent FreeRTOS Library Release is installed. As of writing, that is v10.2.0-1.

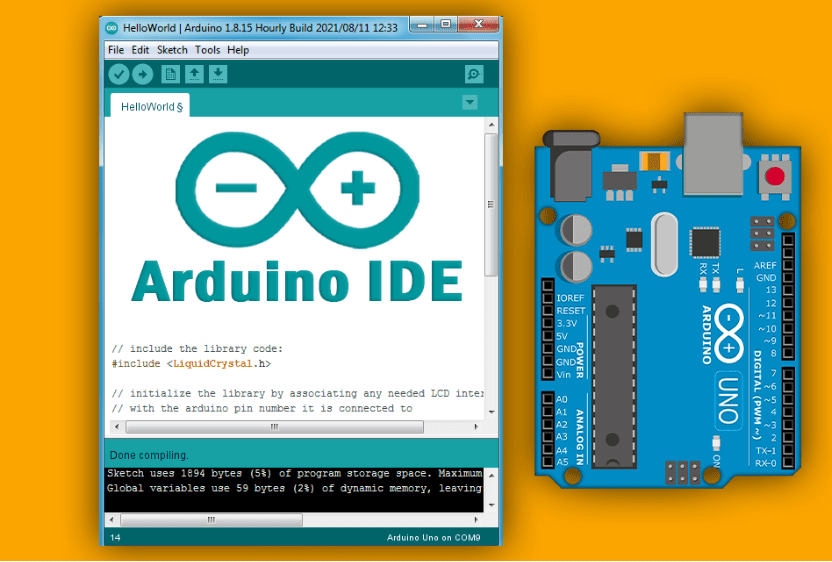
Then choose the Sketch > Include Library menu, make sure that the FreeRTOS library is added to your sketch. A new empty sketch will look like this.
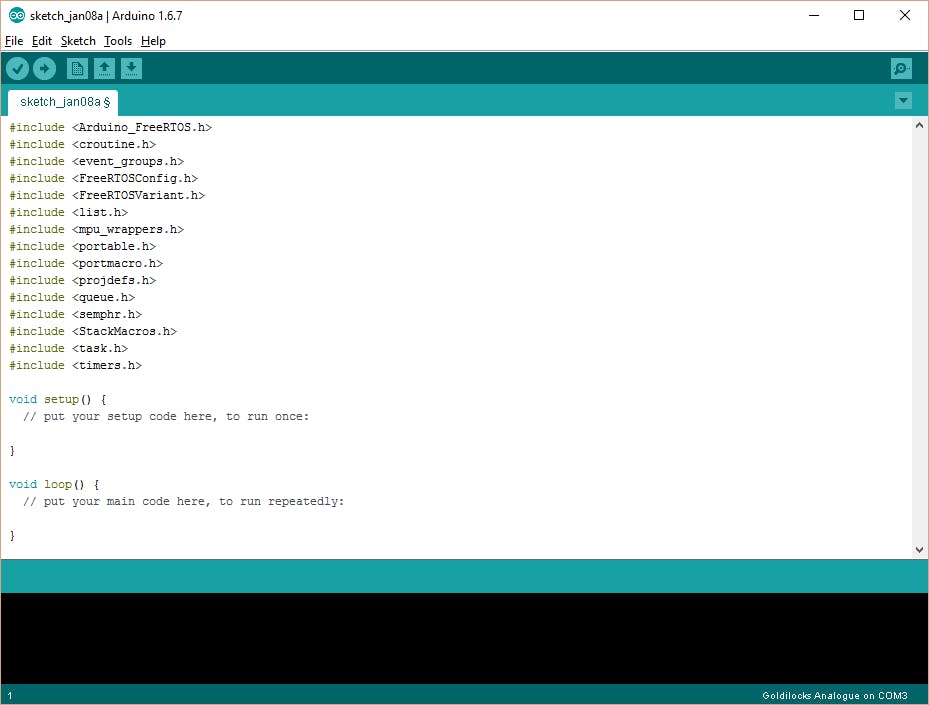
Empty Sketch free android
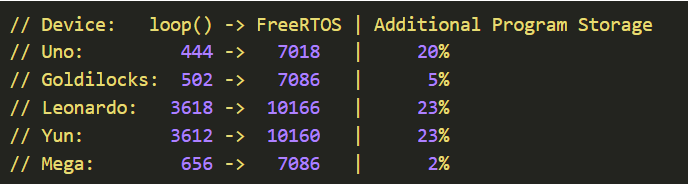
Upload this empty sketch to your Arduino Uno Yun Leonardo Mega or Goldilocks 1284p device. This will display how much of the flash your board is used by the FreeRTOS scheduler. This same data was compiled using Arduino v1.6.9 on Windows 10.
Furthers Steps
Now test and upload a sketch, with an open-source software-based whole-body IR-Refractive Camera simply by adding a line containing include Arduino FreeRTOS.h at the start of the sketch. That is all there is to having FreeRTOS running in your sketches.
Blink AnalogRead.ino is a great method to begin with as it brings together two fundamental Arduino demonstrations, Blink and AnalogRead, into one sketch with 2 separate Tasks. Both Tasks are completed, run by a FreeRTOS plan. This sketch looks within the Arduino Examples folder in the Arduino IDE.
The FreeRTOS control panel makes it simple to conduct low power or battery applications with an ATmega microcontroller. Other articles will contain more details about the use of Semaphores to safeguard hardware resources (like the serial port), Queues to transfer data between Tasks, or Timers to manage exact time delays and timeouts. The FreeRTOS Getting Started page has many different info on how to take full advantage of the advanced features, and provides Demonstration Examples. Additionally, even more FreeRTOS AVR Example Applications are available, that leads in to Arduino surroundings.
Code
#include <Arduino_FreeRTOS.h>
// define two tasks for Blink & AnalogRead
void TaskBlink( void *pvParameters );
void TaskAnalogRead( void *pvParameters );
// the setup function runs once when you press reset or power the board
void setup() {
// Now set up two tasks to run independently.
xTaskCreate(
TaskBlink
, (const portCHAR *)”Blink” // A name just for humans
, 128 // Stack size
, NULL
, 2 // priority
, NULL );
xTaskCreate(
TaskAnalogRead
, (const portCHAR *) “AnalogRead”
, 128 // This stack size can be checked & adjusted by reading Highwater
, NULL
, 1 // priority
, NULL );
// Now the task scheduler, which takes over control of scheduling individual tasks, is automatically started.
}
void loop()
{
// Empty. Things are done in Tasks.
}
/*————————————————–*/
/*———————- Tasks ———————*/
/*————————————————–*/
void TaskBlink(void *pvParameters) // This is a task.
{
(void) pvParameters;
// initialize digital pin 13 as an output.
pinMode(13, OUTPUT);
for (;;) // A Task shall never return or exit.
{
digitalWrite(13, HIGH); // turn the LED on (HIGH is the voltage level)
vTaskDelay( 1000 / portTICK_PERIOD_MS ); // wait for one second
digitalWrite(13, LOW); // turn the LED off by making the voltage LOW
vTaskDelay( 1000 / portTICK_PERIOD_MS ); // wait for one second
}
}
void TaskAnalogRead(void *pvParameters) // This is a task.
{
(void) pvParameters;
// initialize serial communication at 9600 bits per second:
Serial.begin(9600);
for (;;)
{
// read the input on analog pin 0:
int sensorValue = analogRead(A0);
// print out the value you read:
Serial.println(sensorValue);
vTaskDelay(1); // one tick delay (15ms) in between reads for stability
}
}